Mailchimp
Use Meshes to add contacts to Mailchimp audiences and update subscription state from product events.
Use the Mailchimp integration when Meshes should subscribe or unsubscribe contacts based on product behavior. In a Meshes workspace, you create the Mailchimp connection, build a rule for the event you care about, and select the Mailchimp audience the rule should use.
Supported actions
- Add to List subscribes the contact to a selected Mailchimp audience.
- Remove from List unsubscribes the contact from a selected Mailchimp audience.
Create the connection
- Open Connections in your Meshes workspace.
- Click New Connection.
- Select Mailchimp.
- Give the connection a clear name.
- Enter the Data Center and API Key from Mailchimp.
- Save the connection.
You can find the Mailchimp data center in the account URL or at the end of the API key after the dash, such as us6.
Create a rule
- Open Rules and click New Rule.
- Select the event type that should trigger the Mailchimp action, such as
user.signuporsubscription.canceled. - Select the resource type for that event.
- Choose your Mailchimp connection.
- Select Add to List or Remove from List.
- Choose the Mailchimp audience.
- Map the event fields Meshes should send to Mailchimp.
- Save the rule.
The mapping catalog includes email, ip_signup, and the merge fields available from the connected Mailchimp audiences.
Send a test event
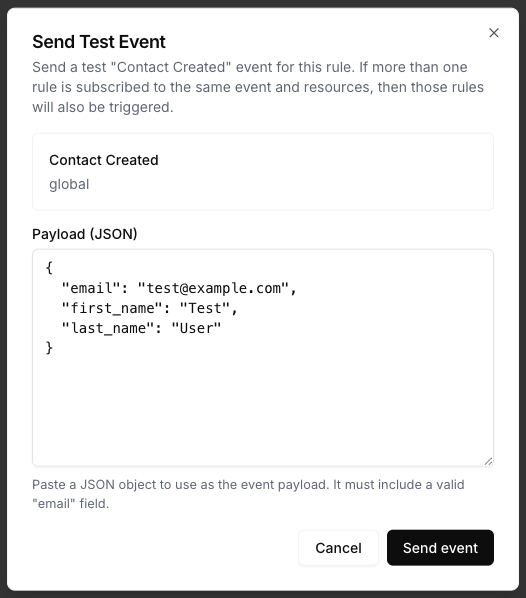
Use Send Test Event on the rule to verify the audience action and mappings.
{
  "email": "test@example.com",
  "first_name": "Test",
  "last_name": "User",
  "plan": "pro"
}
Review results
After the event runs, open Events and inspect the Mailchimp delivery details. Meshes shows whether the rule completed, what action ran, and any retries or failures.
Notes
- Map
emailat minimum for Mailchimp audience actions. - Mailchimp list actions set subscription status to subscribed or unsubscribed.
- Merge fields are loaded from the connected Mailchimp account and can be mapped in rules.