Intercom
Use Meshes to add or remove tags on Intercom contacts from product events.
Use the Intercom integration when Meshes should tag or untag contacts based on product behavior. In a Meshes workspace, you connect Intercom, create a rule for the event you care about, and select the Intercom tag that should be added or removed.
Supported actions
- Add Tag adds a selected tag to the Intercom contact.
- Remove Tag removes a selected tag from the Intercom contact.
Create the connection
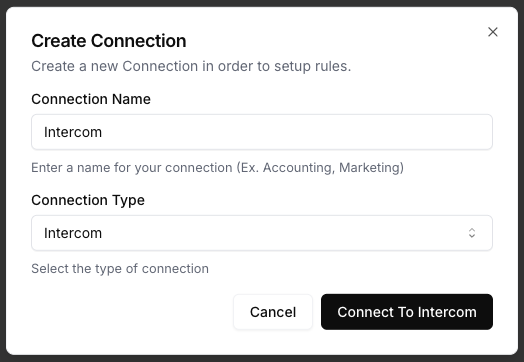
- Open Connections in your Meshes workspace.
- Click New Connection.
- Select Intercom.
- Give the connection a clear name.
- Click Connect to Intercom and complete the OAuth flow.
After authorization, Meshes loads the tags available to that Intercom workspace so they can be selected in rules.
Create a rule
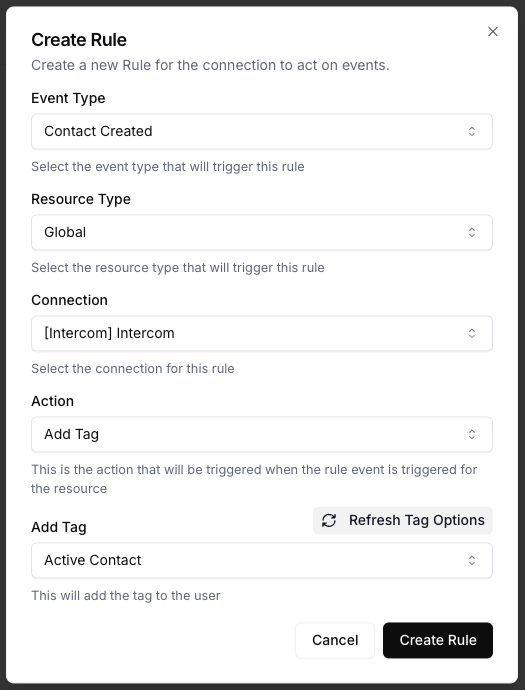
- Open Rules and click New Rule.
- Select the event type that should trigger the Intercom action, such as
user.signuporlesson.completed. - Select the resource type for that event.
- Choose your Intercom connection.
- Select Add Tag or Remove Tag.
- Choose the Intercom tag Meshes should use.
- Map the event fields you want available to Intercom.
- Save the rule.
For Intercom rules, the mapping catalog includes email, external_id, name, phone, and any available custom attributes.
Send a test event
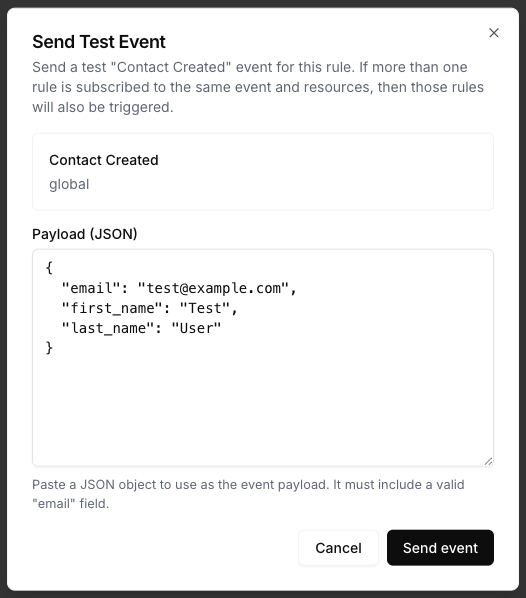
Use Send Test Event on the rule to verify the tag action and mappings.
{
  "email": "test@example.com",
  "external_id": "usr_2048",
  "name": "Test User",
  "plan": "pro"
}
Review results
After the event runs, open Events and inspect the Intercom delivery details. Meshes shows whether the rule completed, what action ran, and any retries or failures.
Notes
- Map
emailat minimum for Intercom contact matching. - If you have a stable customer ID, map it into
external_id. - Intercom tags are loaded from the connected workspace.
- Only the selected tag is added or removed by the rule.